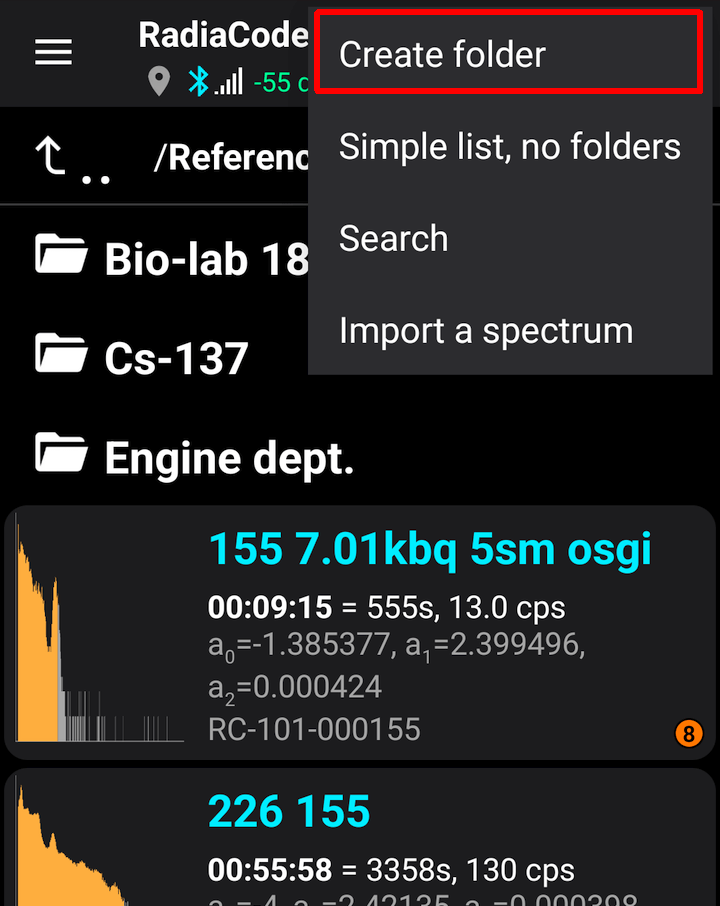
Folders in the Libraries
In the libraries of spectra, spectrograms, tracks, and device profiles, you can organize the contents into folders, similar to a file system. No folders are physically created on the smartphone; all folder information is stored in the application database file. File names must be unique within the entire library—the application will not allow you to save a file with an existing name, even if the existing file is in a different folder.
The interface for folders is consistent across all the listed libraries, although the drop-down menu options may vary slightly depending on the library type. To create a folder, choose the appropriate option from the toolbar's options menu:
In the list, folders are always displayed before files. Tapping a folder takes you to that folder. If the screen does not show the root folder, you can move up a level by tapping the first line with the arrow icon, or by using the "Back" button on your smartphone.
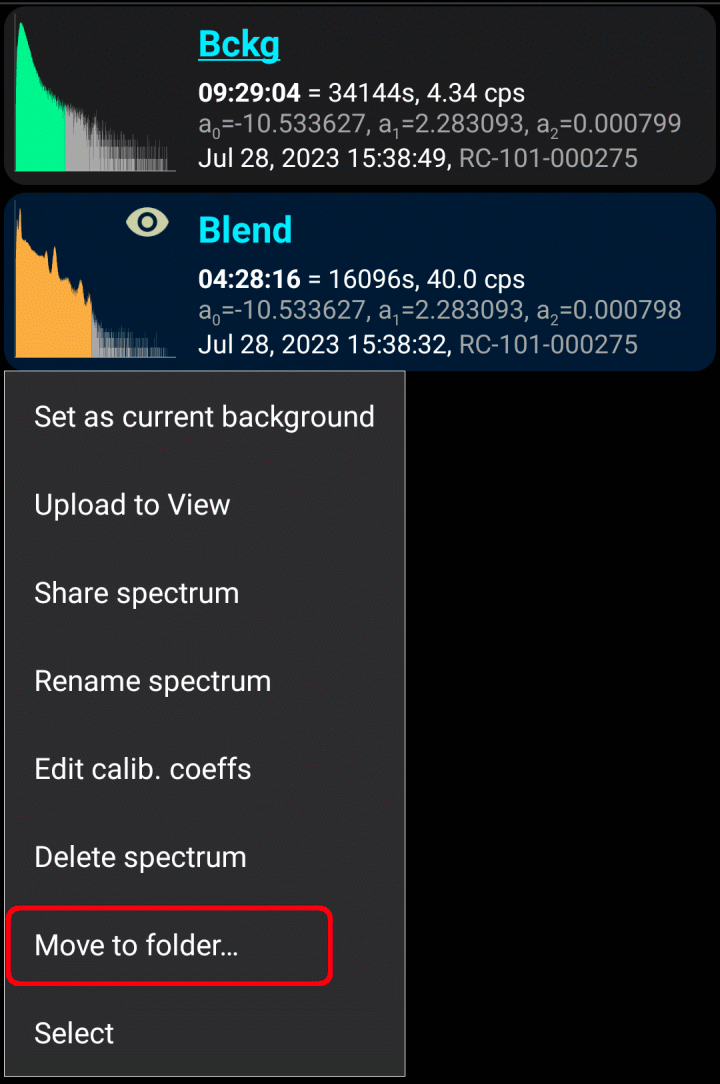
To move a file to a folder, tap it and select "Move to Folder" from the drop-down menu:
At the bottom of the screen, you will see a panel with explanatory text and buttons:
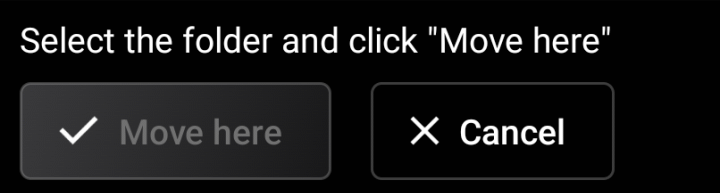
To navigate between folders, select the desired folder and click "Move Here."
To rename, delete, or mark a folder, long press on it and choose an action from the drop-down menu. You can select multiple files and/or folders to move simultaneously. The menu for actions with the selected files/folders is called the "options menu," accessible by tapping the three-dot icon in the upper right corner of the screen.
You can display all library files as a single list to view the entire contents of the library at a glance. To do this, select "Simple list without folders" from the options menu. In simple list mode, the path to each file's folder is shown if the file is not in the root folder. To display the folders again, select "Show Folders" from the options menu.
Imported spectra, spectrograms, and tracks are saved to the root folder.
Updated: Jan 8, 2026